Welcome to my first article from my severn part Blender - Colour Palette series covering how to make and use a colour palette texture.
After searching the internet I couldn’t find an article to show me exactly how to create a colour palette texture for use with Low Poly modelling. There are many videos online using this form of texture but no detailed explanation of how to create one.
This is why I have created this article and YouTube video to cover the creation of a colour palette texture.
All of my future 3D modelling projects will start out using the iCreatevo Colour Palette Texture template which you can create your self using my Blender - Colour Palette series covering how to make and use a colour palette texture..
If you don’t have the time, software or just want to support iCreatevo then I have you covered.
I have created the required Blender template scene setup ready to use my iCreatevo textures, as I build the community I just don’t want to ask for donations to keep the site going, I want to provide value.
The colour palette texture will be available soon on GumRoad, normally priced at £10, but for the first 1000 will be priced at £5 as an early supporter bonus.
Coming Soon: iCreatevo Emissive Colour Palette Texture
The reason to use a colour palette is to reduce the number of draw calls required to render a model in a 3D scene.
Lowering the amount of draw calls will help to improve the frame rate and lower the amount of stress on a CPU or GPU when scenes get large.
Here are three example screenshots I took when testing.
Test comprised of 20 standard blender cube models for two scenarios and zero for the final scenario. There was no other optimisation or batching, so more improvements could be achieved.
Scenario 1: 6 materials each a different colour, one material per face, 6 faces.

Scenario 2: 1 material with my colour palette attached, 6 different colours applied to six faces.

Scenario 3: No Models, just the unity game engine.

| Material | Draw Calls | Model Amount | Base Draw Calls | Draw Calls Per Model |
|---|---|---|---|---|
| 6 Materials | 518 | 20 | 32 | 24.3 |
| 1 Material, Colour Palette attached | 103 | 20 | 32 | 3.55 |
As you can see there is an advantage for using a common colour palette material when it comes to draw calls.

After carrying out many experiments with different sizes of grid I found that the optimum for quality was 4 pixels. Creating a 4 pixel grid requires 2 pixels across and 2 pixels down.
When it comes to sizing image textures there is a power of two rule for optimisation e.g. 2, 4, 8, 16, 32, 64, 128 and so on. The image texture does not have to be square 32x32 but can be 64x32, but as long as the sizes are a power of two.
This is why I settled for 32x32 at 4 pixels per grid square this would give me a grid of 16x16 which gives me a total of 256 possible colour combinations for my palette, plenty me thinks.
Open a new document and enter the below settings, then click create:
When creating a colour palette I found it to be an easier process by creating a colour swatch group first. This also comes in handy for future projects like creating UI and background components.
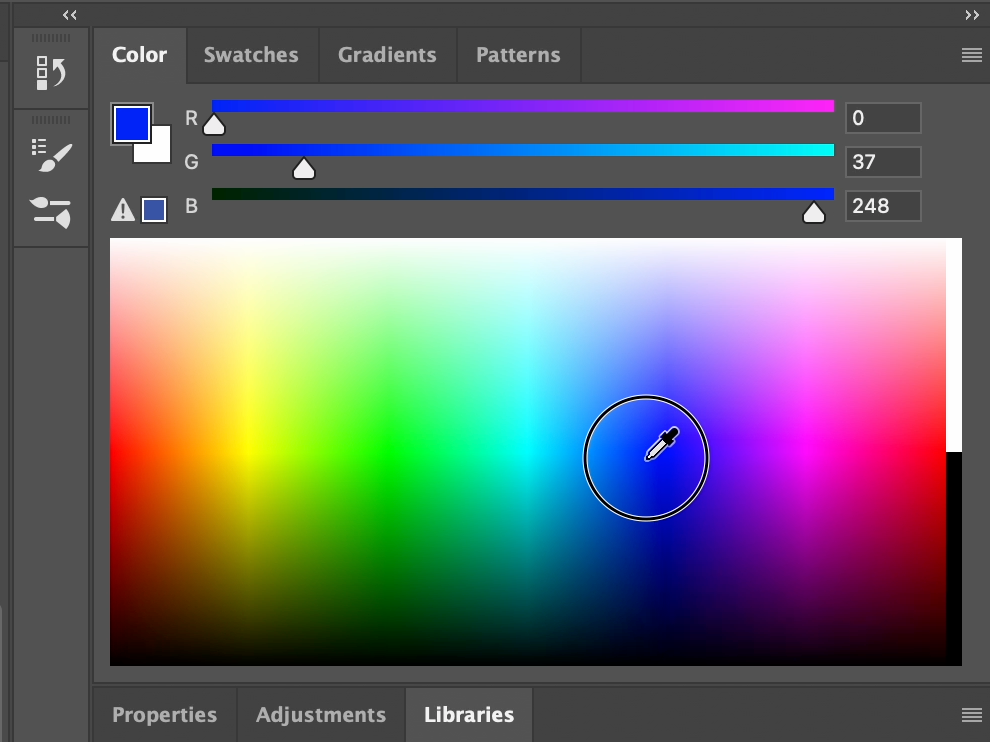
Goto the colour tab and click the menu icon circled in the screenshot below:
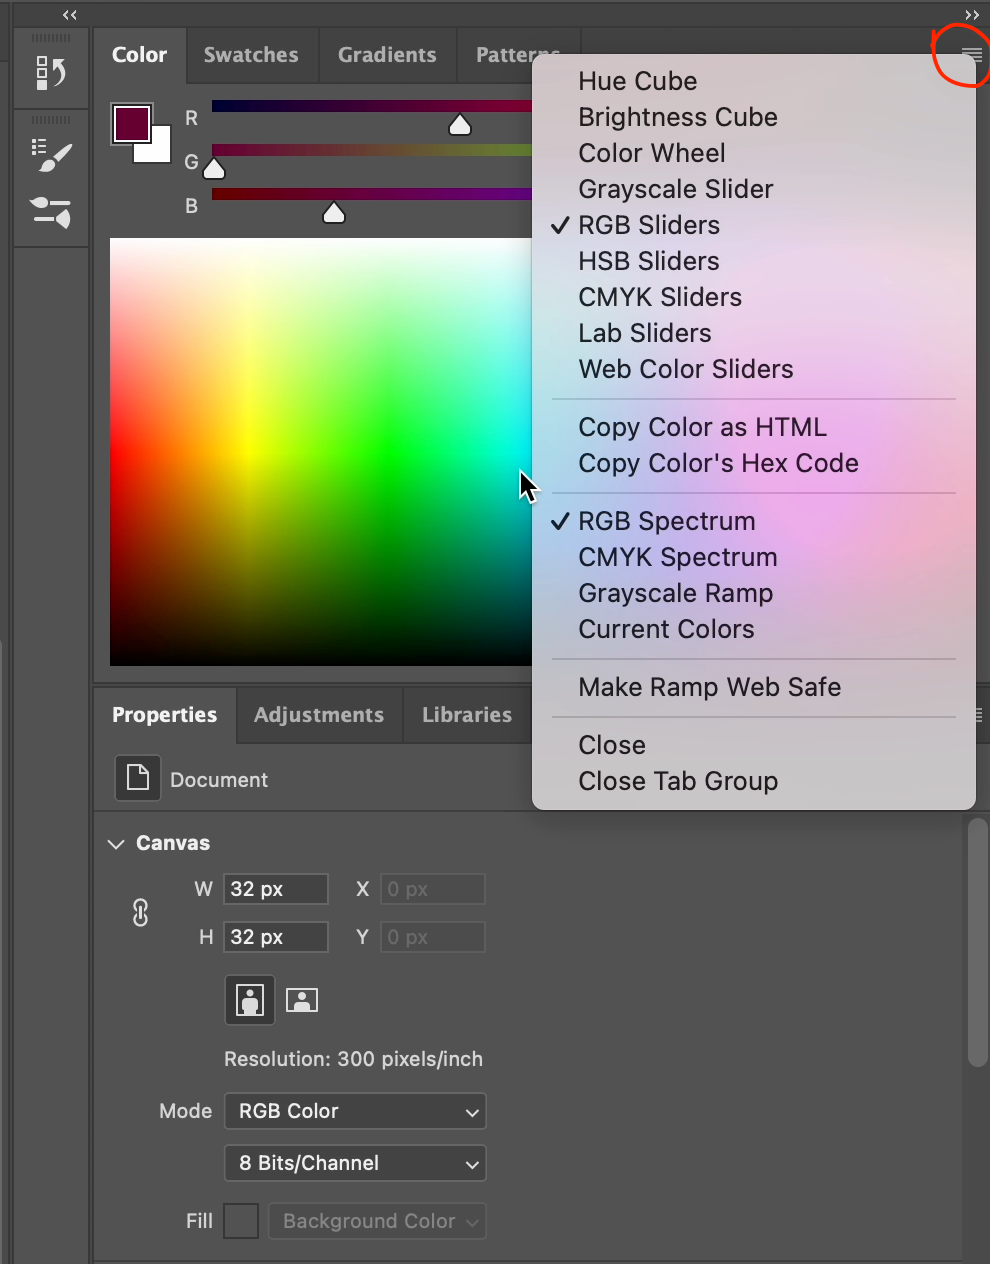
Now make sure that the RGB Sliders and RGB Spectrum items are ticked as shown in the above screenshot.
Now select the colour swatches tab and create a colour swatch group by selecting the folder icon circled in the screenshot below:
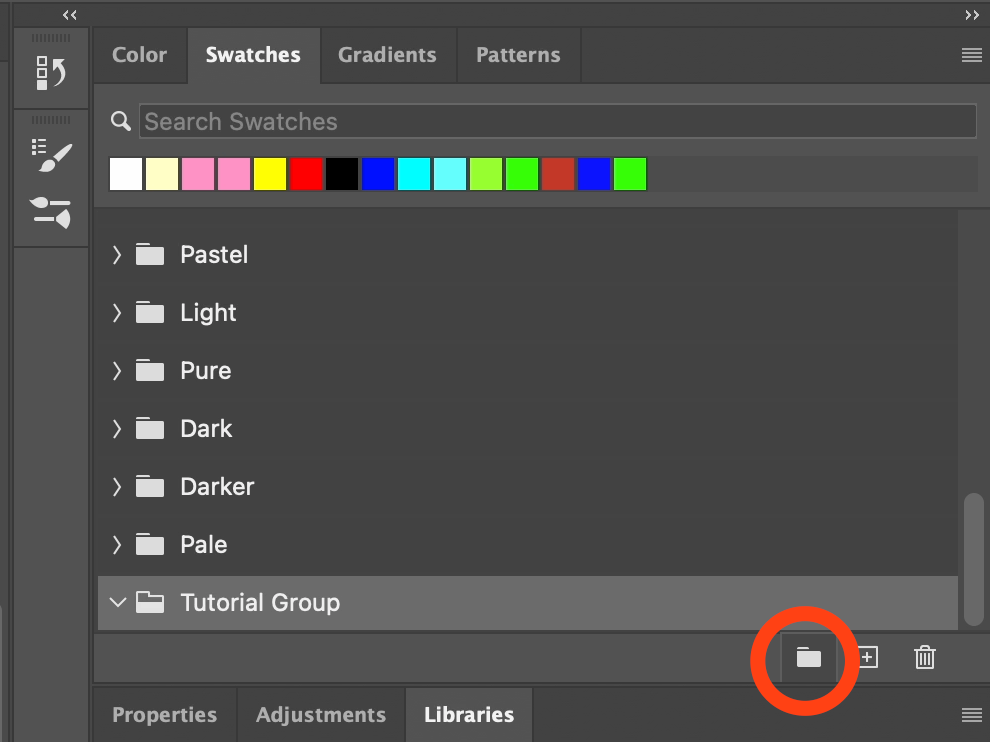
Enter the name you want to call the group and click ok to confirm.
Make sure your colour swatch group is selected.
Now go to the colour tab and select the colour you wish to create your colour swatch with.
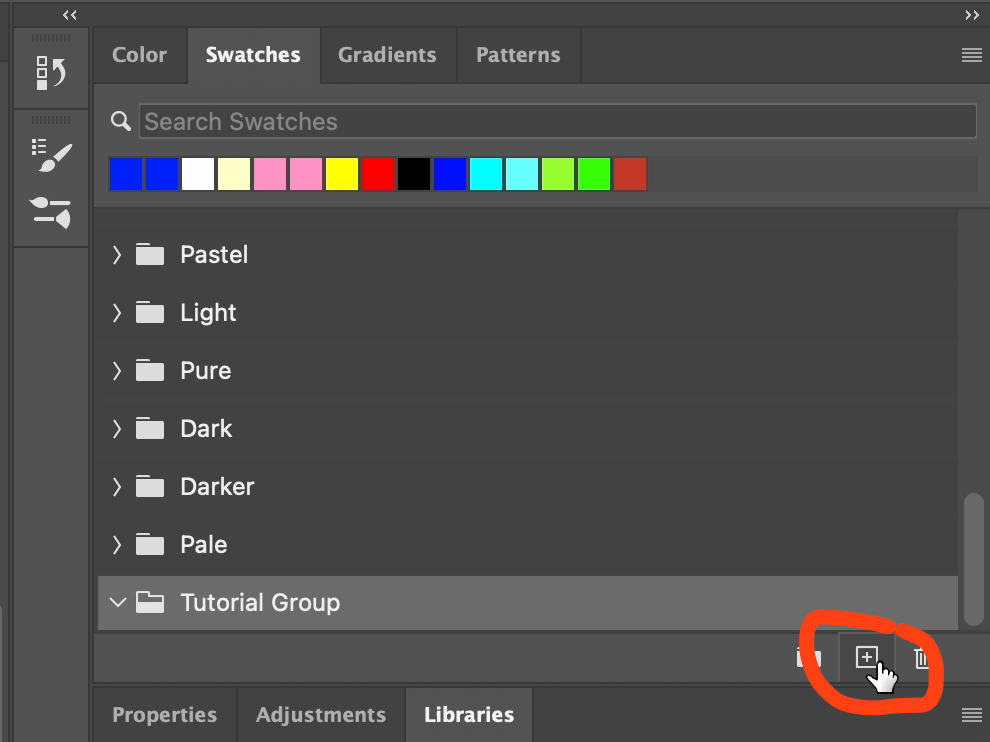
Now select the create new swatch icon and enter your desired colour swatch name and click ok.
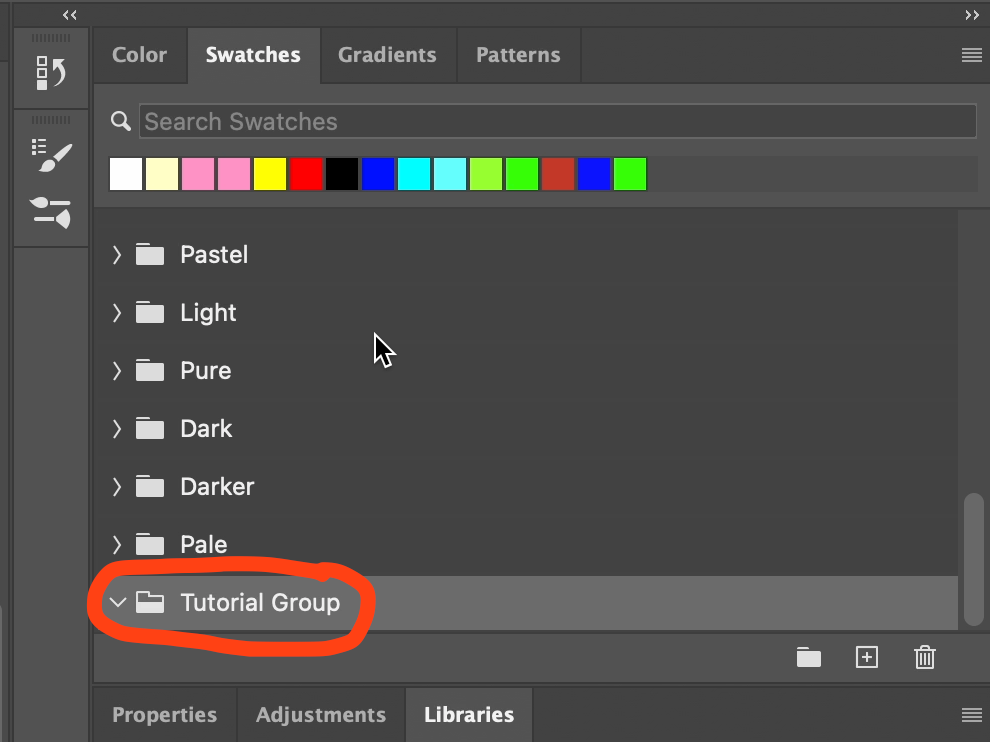
To confirm everything went ok you should see the colour you selected below the group you created earlier as shown in the screenshot below:

Now you have to repeat this process until you have all of the colours you require to create your colour palette.
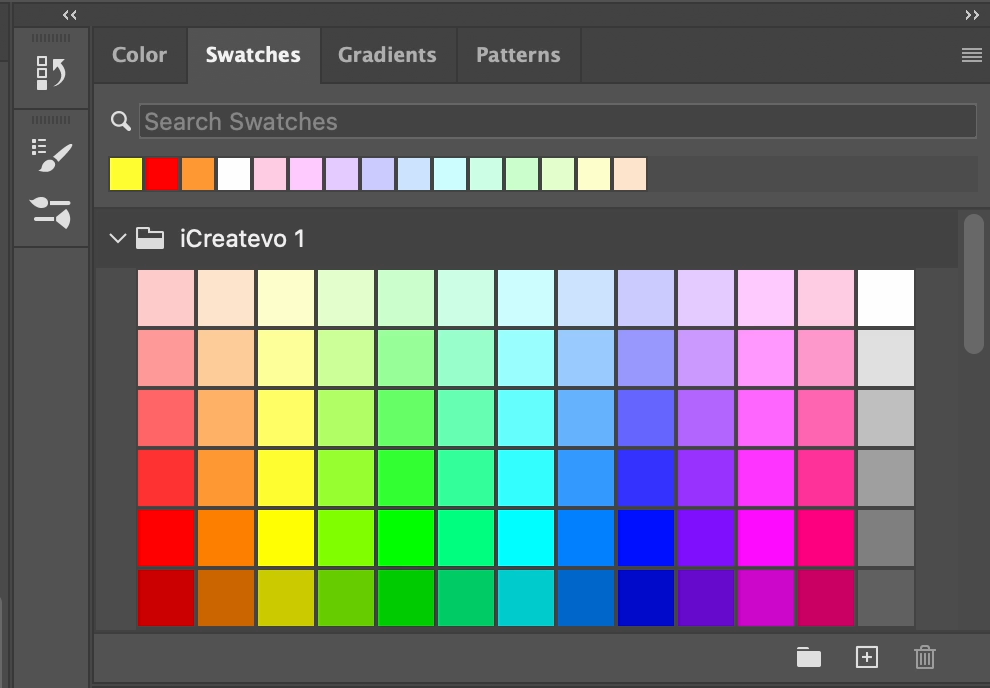
Here is a portion of my colour swatch group.
One last thing before we start to make the colour palette we have to setup the grid option in the menu, this makes the process of placing the colours much easier.
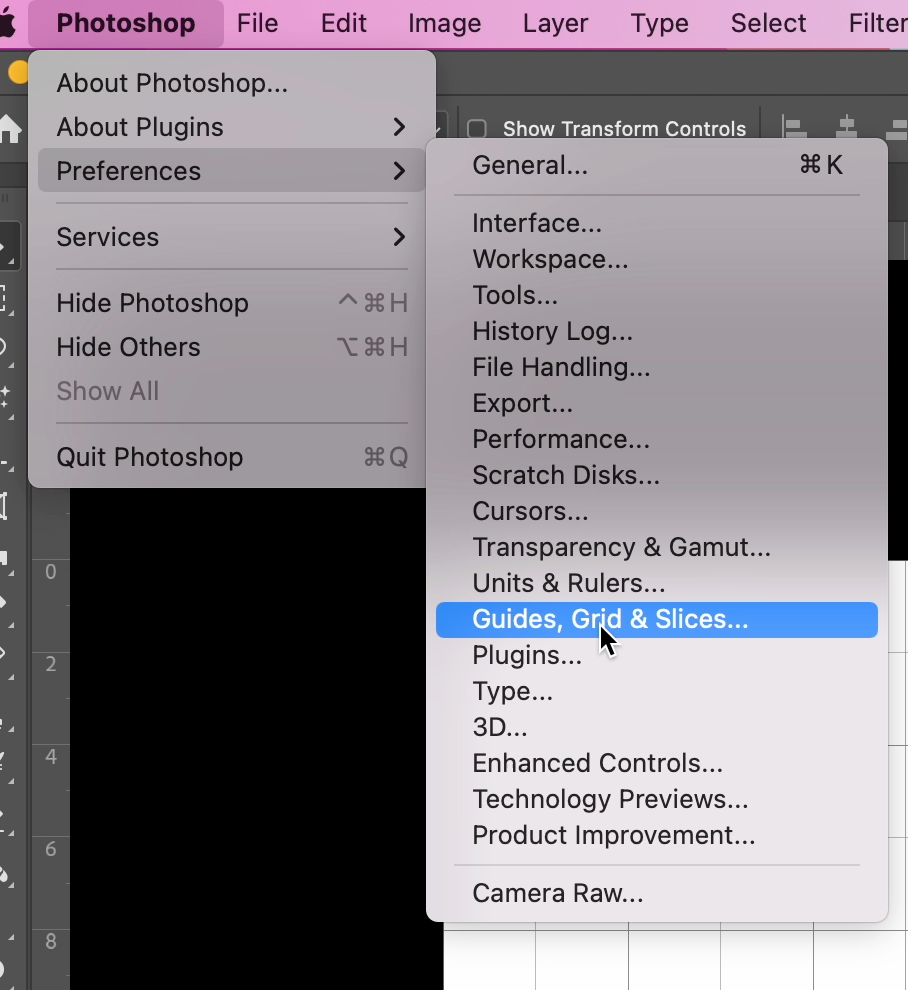
Select Preferences>Guides, Grid & Slices from the main menu.
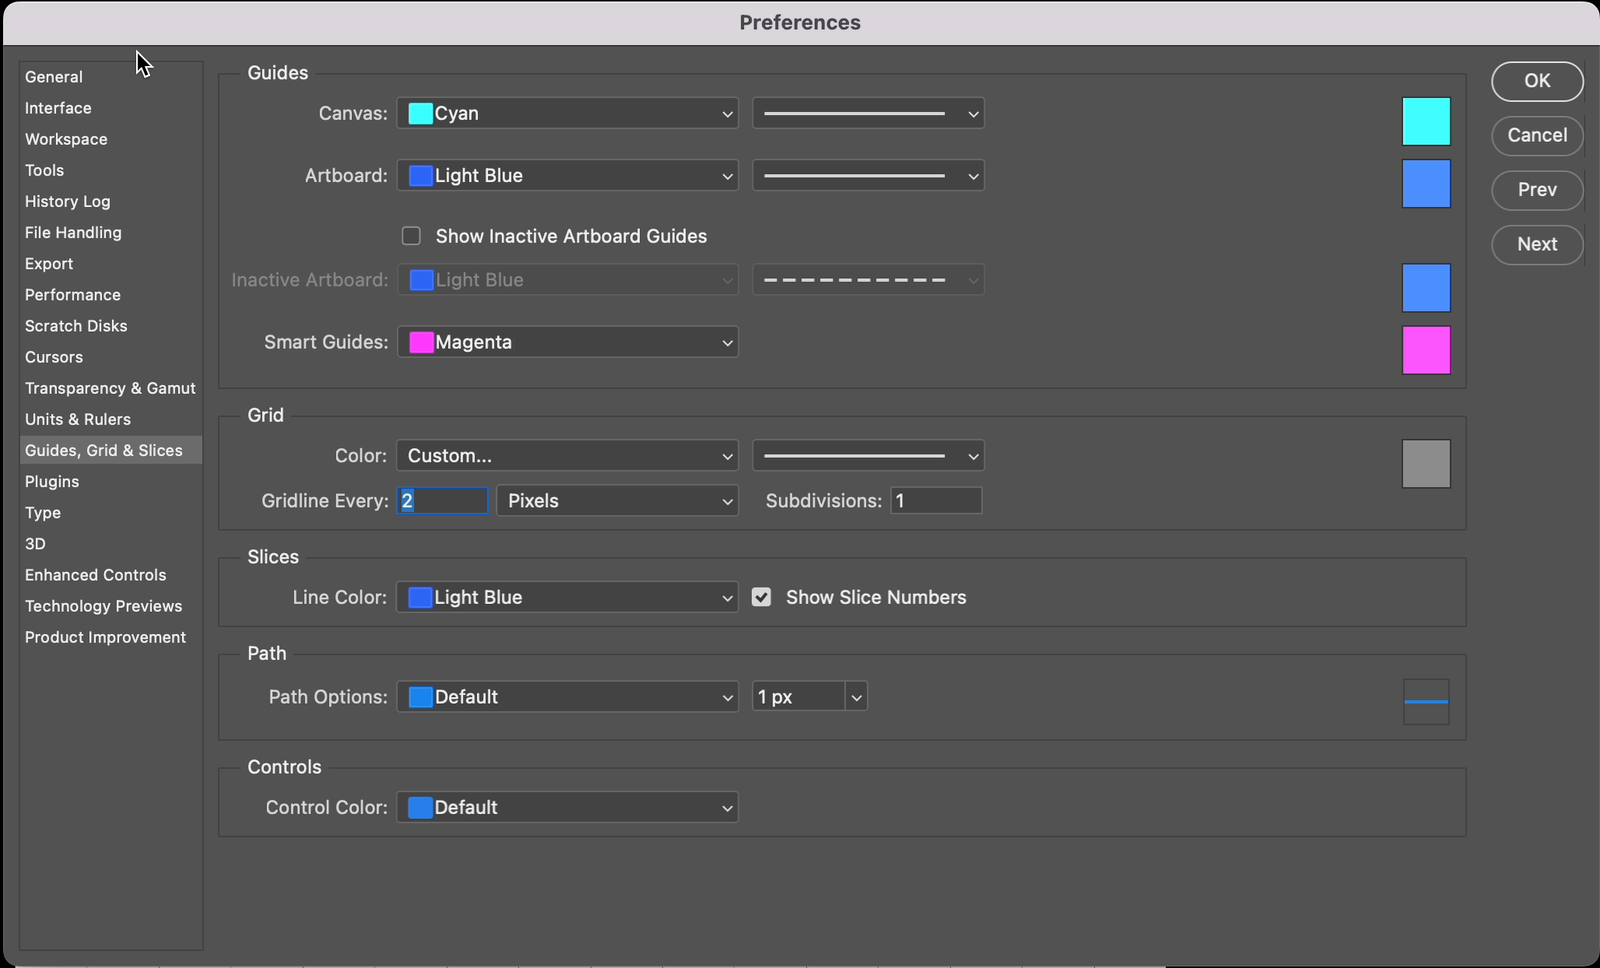
Now enter 2 in the Gridline Every and 1 in the Subdivisions.
The above selections will give us a 4 pixel colour square (2 pixels by 2 pixels), making a grid of 16 x 16 which gives a potential of 256 different colours we can add to this colour palette.
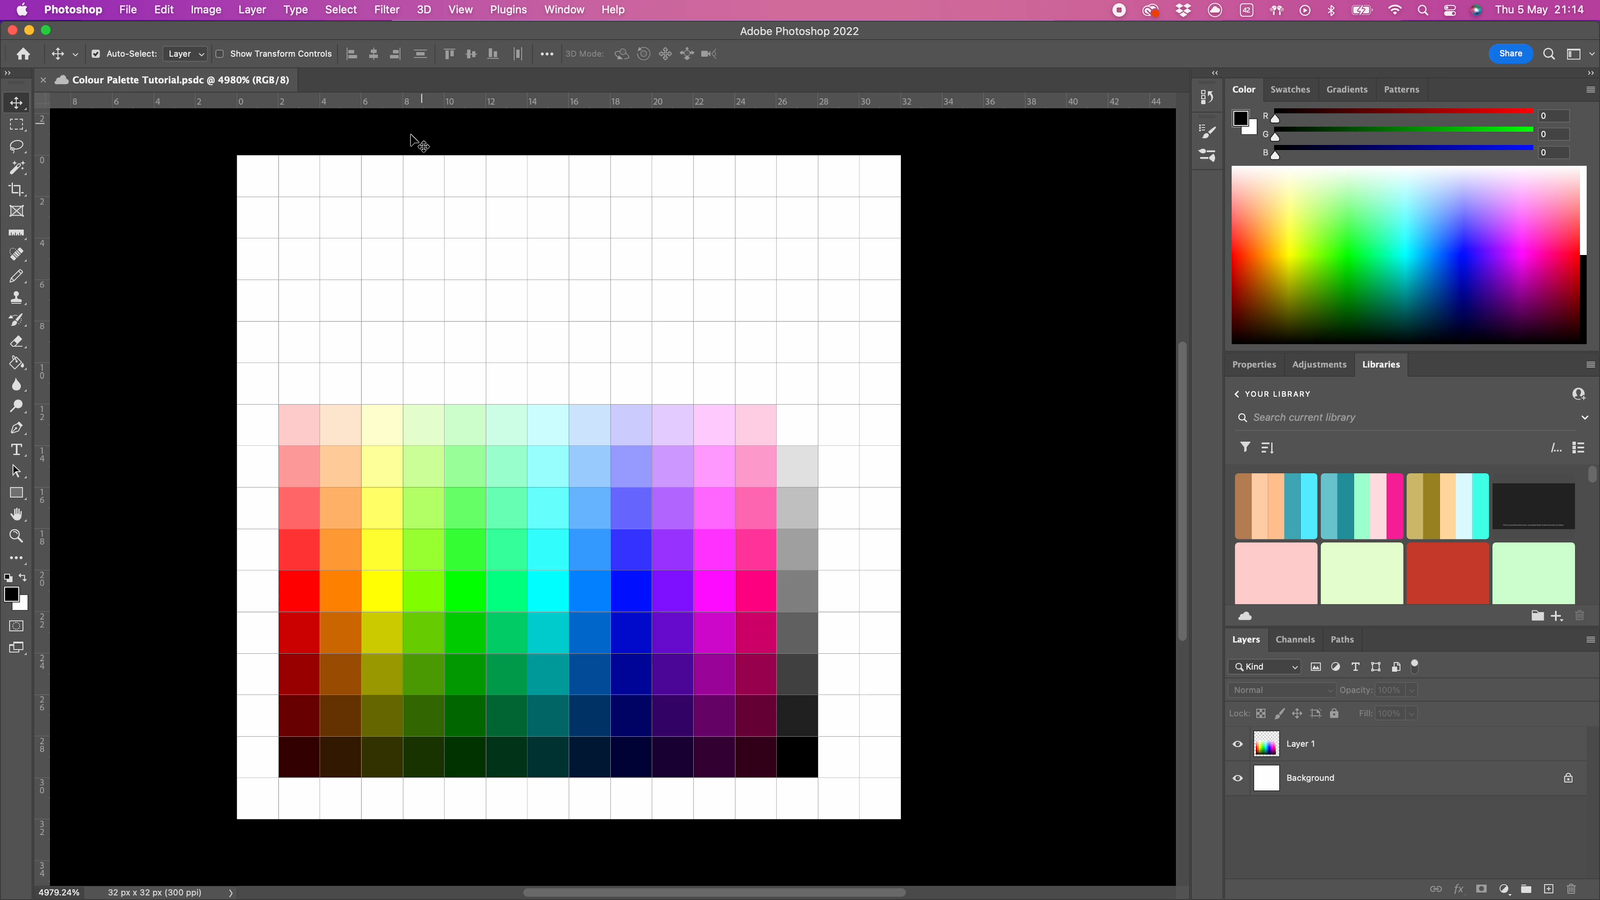
Now comes the productive part of this journey, creating the colour palette.
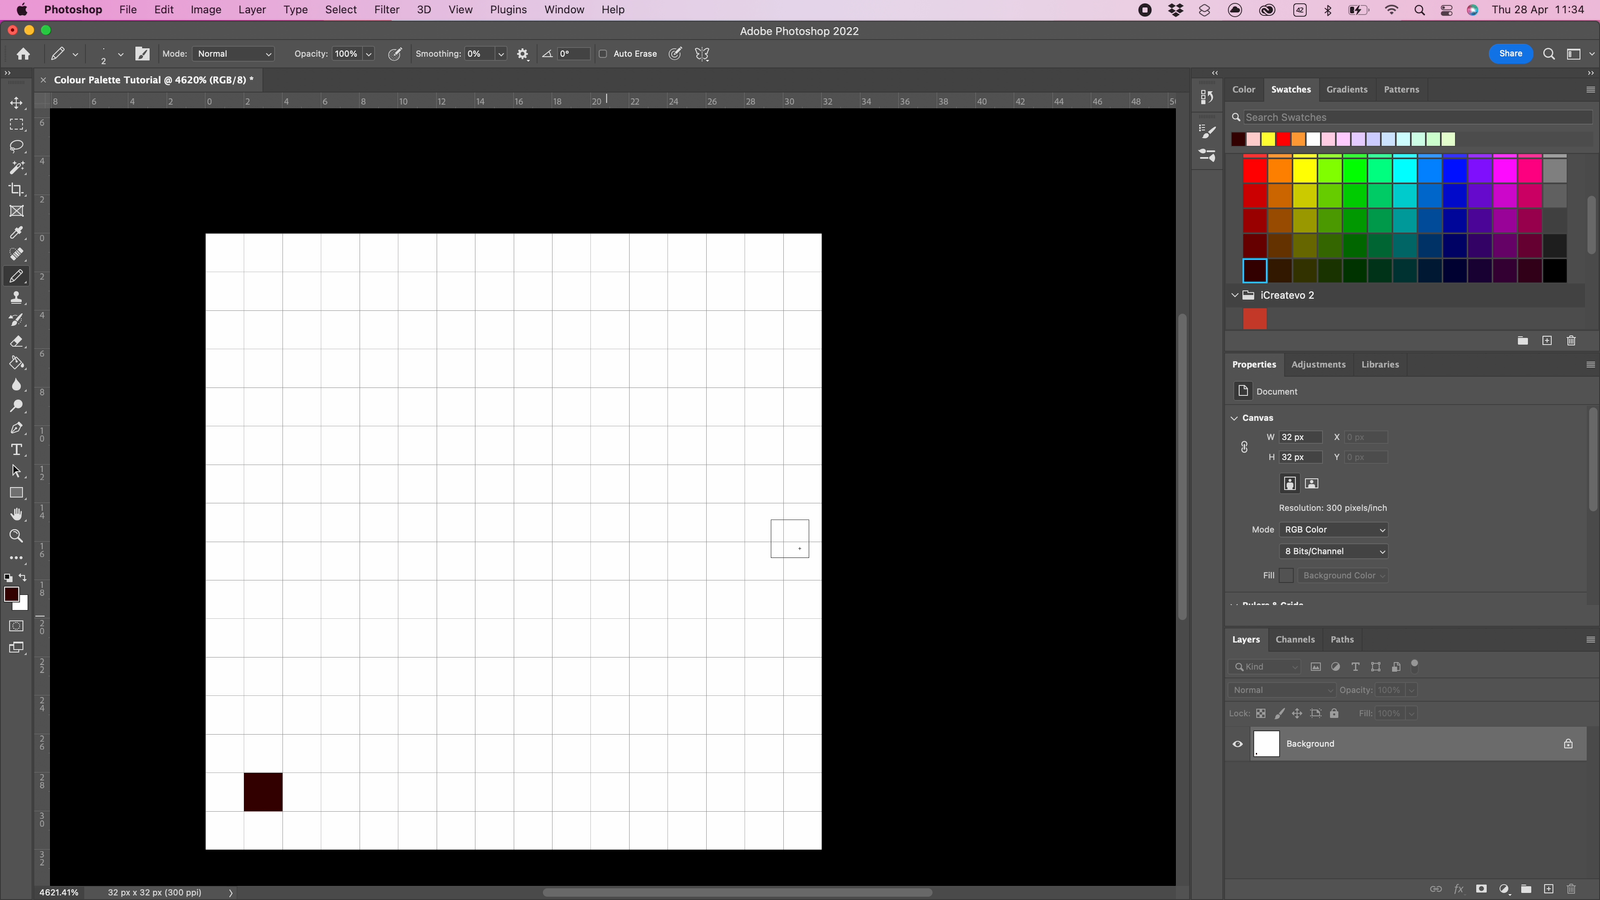
Select the first colour you want to start with from the colour swatch and then click in the desired empty square.
Select the second colour and click on the next empty square.

Select the third colour and click on the next empty square.
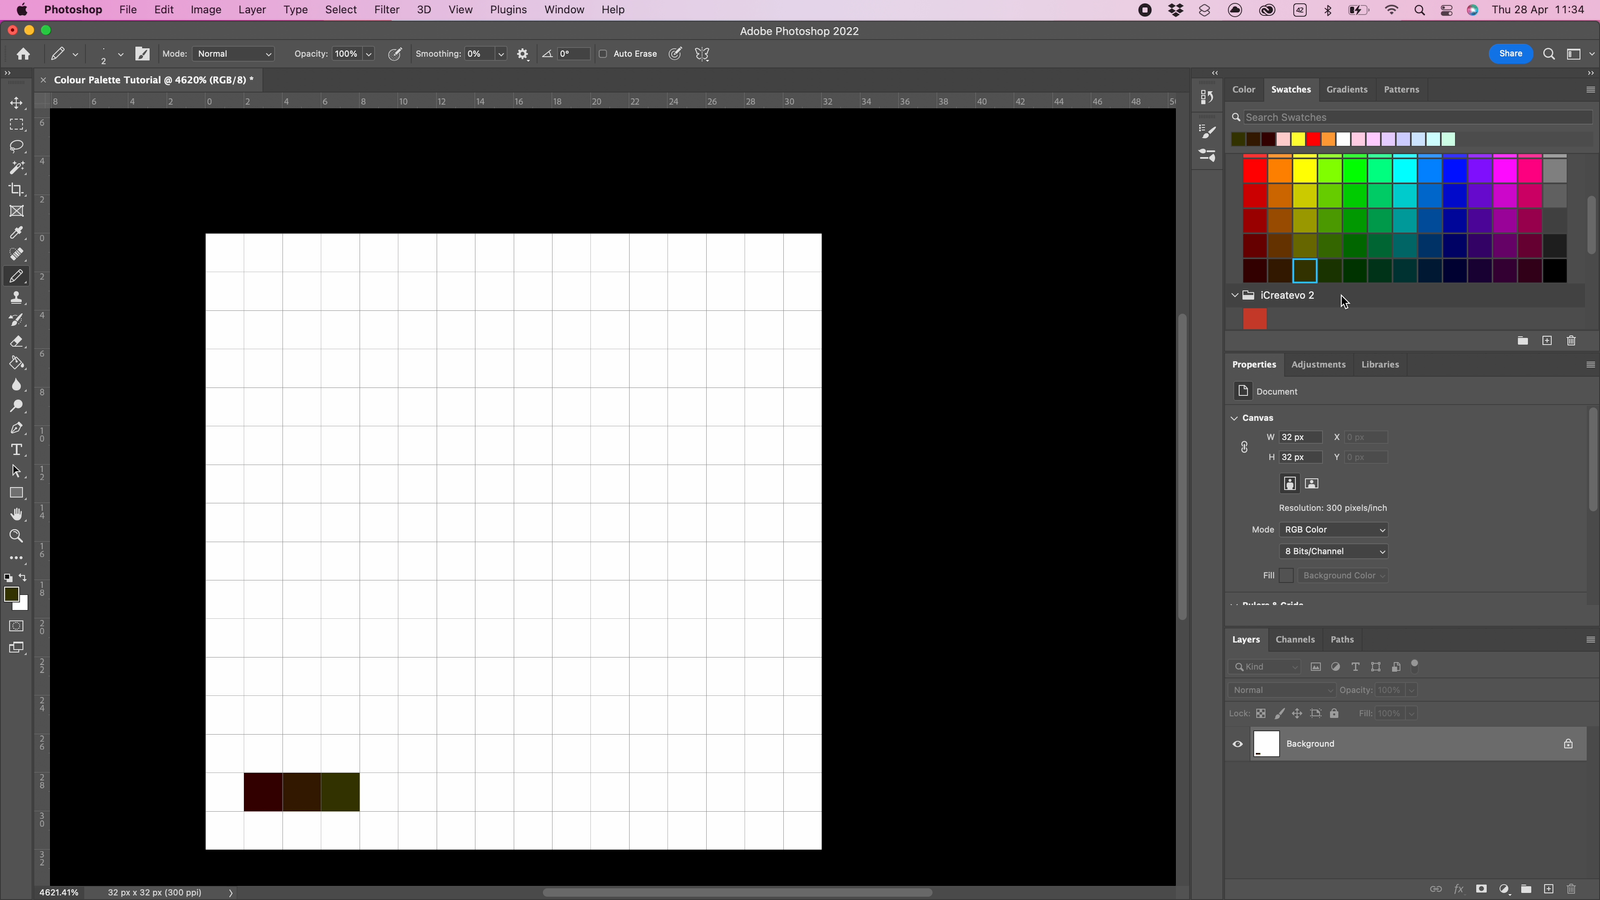
Repeat the adding process until you have the full colour palette.
I have added this section to confirm that flattening an image is not required because we are exporting in the .png format, so you can ignore this section in the YouTube video.
The .png image format does not support layers, so when exporting an image in the .png format all layers are flattened automatically.
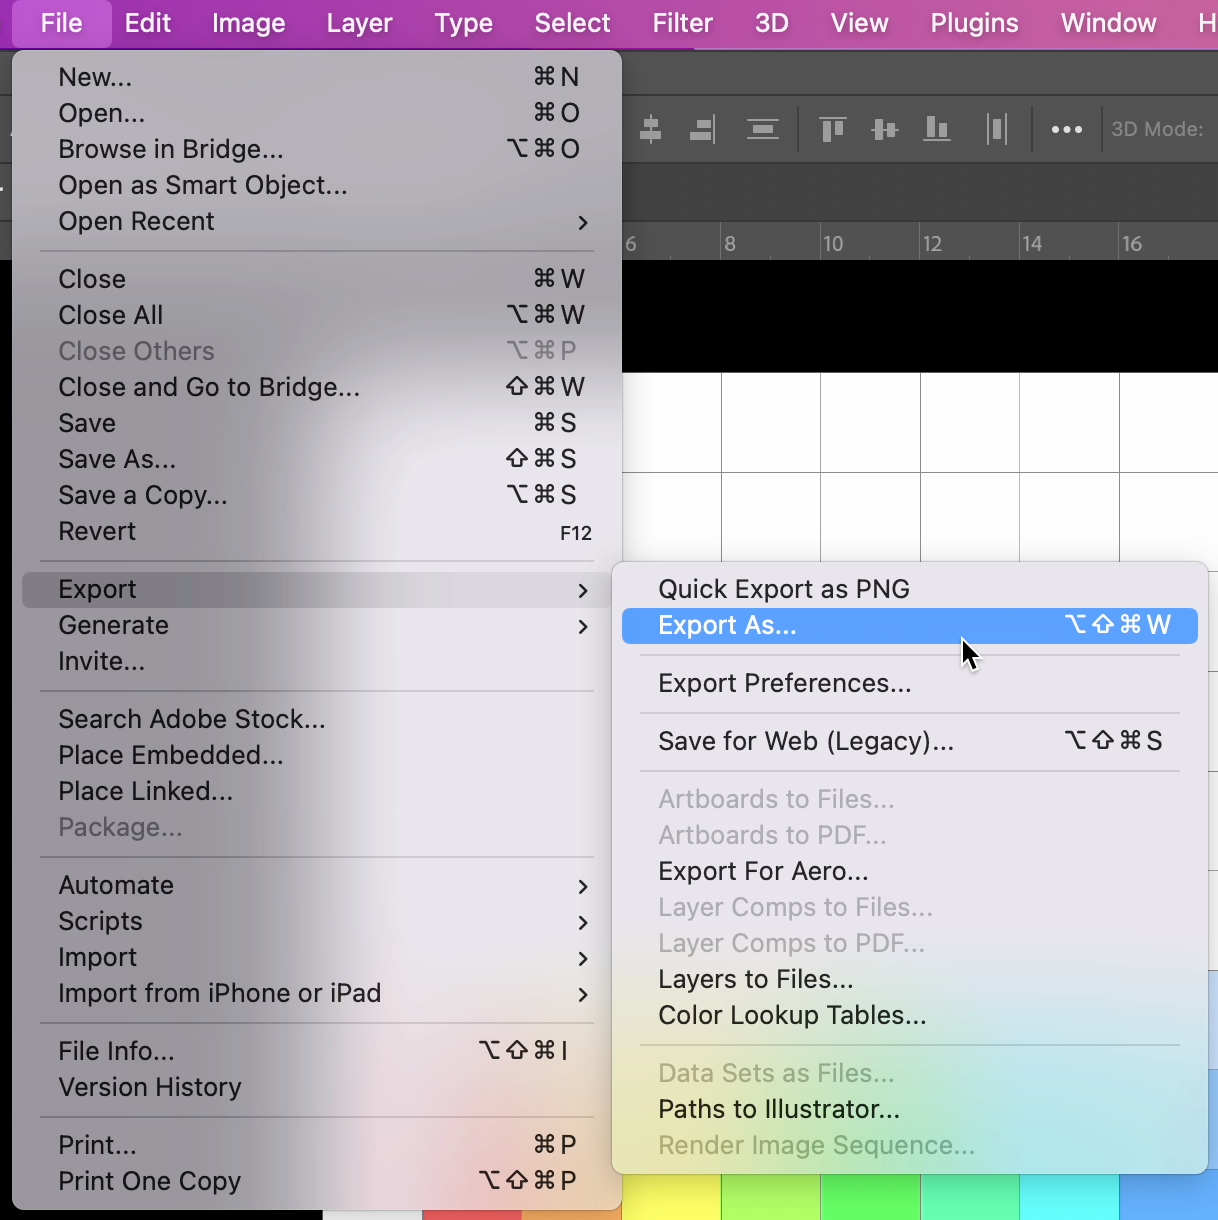
Well we have reached the final stage of the process which is the export of the colour palette.
Select Export>Export As from the main menu.
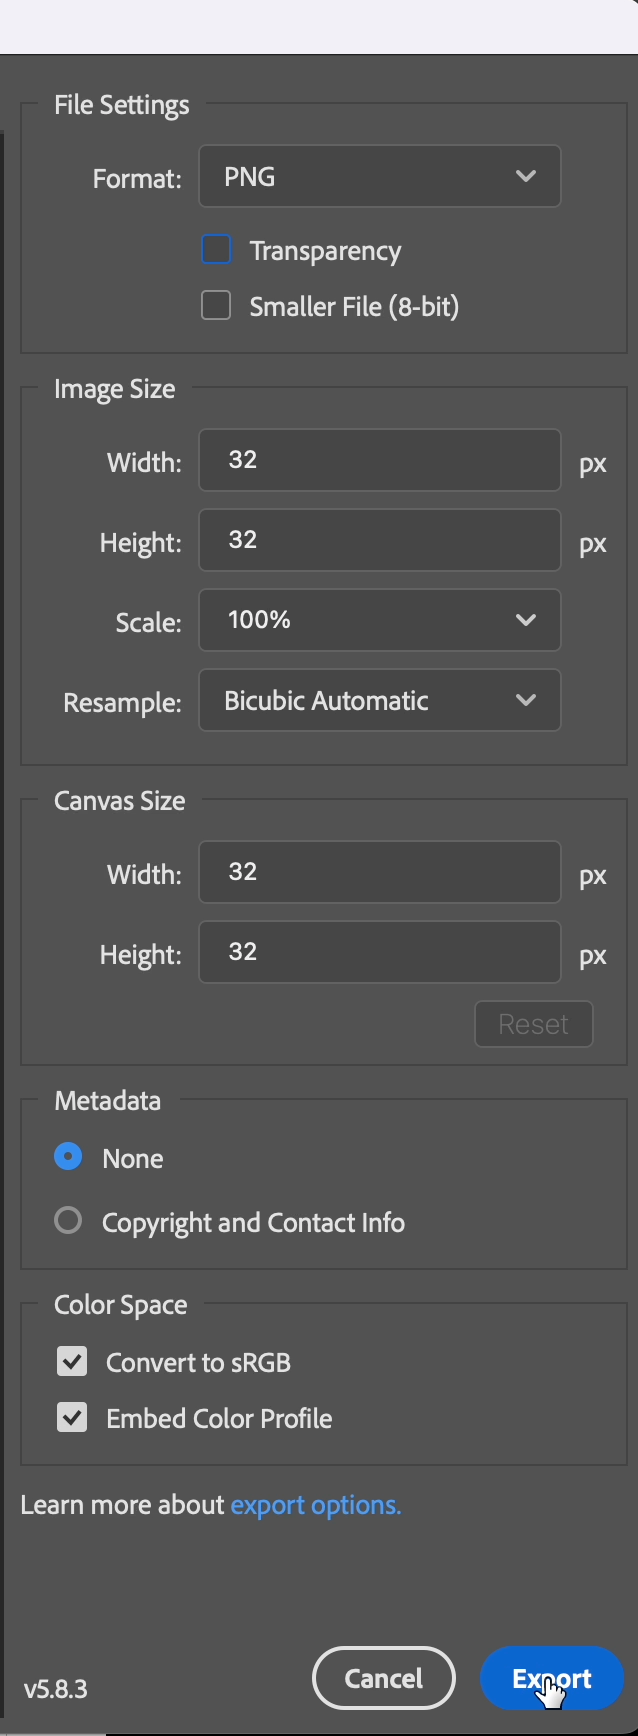
Turn off transparency and confirm none of the other setting have changed and click Export.
Congratulations you have created your first colour palette texture. Now you need to create a material in blender in order to use the colour palette texture.
Coming soon, my article, Blender - How To Make A Material With A Basic Colour Palette to continue you 3D modelling journey.
If you click on my affiliates/advertisers links on this page, I am going to receive a tiny commission. AND… Most of the time, you will receive an offer. Win/Win! The products that I advertise are the ones that I use.
BlenderKit The best place to get models, materials, HDRS, scenes and brushes that I have found and now use.
ElevenLabs The best AI to create text to speech, custom voices from text, sound effects from text and the main reason I purchased this subscription, changing my voice to a voice I created, allowing me to become any character.
QuickMagic The best single camera motion capture software that i use.