Welcome to my second article from my severn part Blender - Colour Palette Series covering how to make and use a colour palette texture.
If you are starting at this article then you need to complete this article first, Blender - How To Make A Standard Colour Palette Texture
This article will cover how to take the standard colour palette texture created in the first article and make an emissive colour palette texture set.
Listed below is what you will need to complete this tutorial:
When it comes to creating an emissive material you will require a set of two textures.
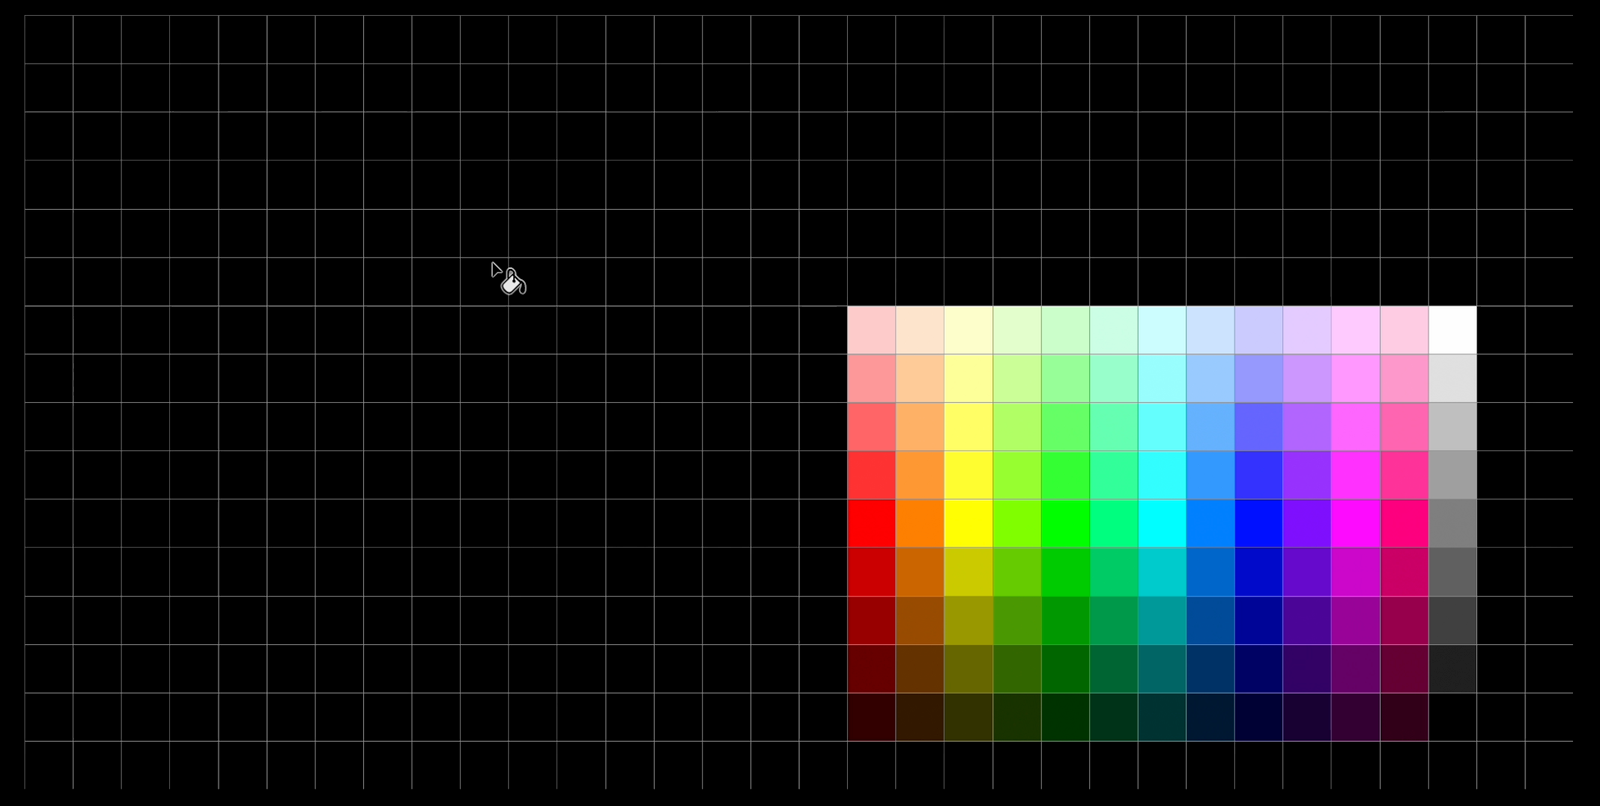
This first texture in the set is for the base colour which will contain two standard colour palette textures aligned next to each other, a left and right colour palette.
The base colour palette will be what you will see and work from when colouring your models.
The second texture in the set is for the emission colour and will contain one standard colour palette texture located on the right side.
All other areas of the emissive colour palette texture that are not emissive will be black, which has an emission value of zero, which equals emission off.
When it comes to emission the are a few ways to set up the values, but to keep things simple I will explain in the terms of a colour palette texture.
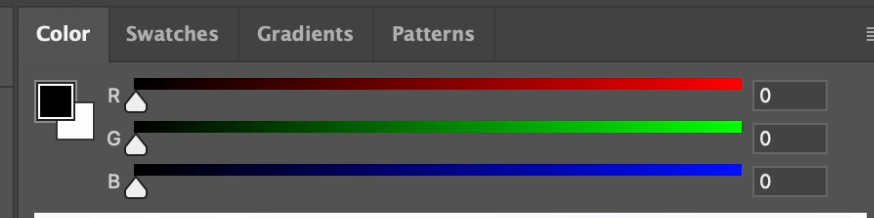
Using a colour palette texture means that we will be using the RGB colour range to determine the colour and brightness of the emission.
The RGB colour range works on a scale of 0-255, 0 is the darkest and 255 is the brightest. When mixing these colour values between RGB we can generate different colour outputs.
Here are a few examples below:
When using RGB for the emission level the brightness ranges from 0 which is equal to off and 255 which is the brightest setting.
Anything in between will be a varying level of brightness and colour.
Understanding how the emissive colour palette texture set works is a simple, all you have to do first is imagine that the base colour palette texture is sat on top of the emissive colour palette texture.
The right hand colour palette of the base colour texture lines up exactly with the right hand colour palette of the emissive colour texture, leaving the lefthand colour palette of the base colour texture to line up with the black section of the emissive colour texture.
So if you remember the RGB values above then the lefthand colour palette of the base colour texture is over the black RGB(0,0,0) section of the emissive colour texture, which equals emission off, making the lefthand side colour palette the standard colour palette.
The righthand colour palette of the base colour texture is over the colour palette section of the emissive colour texture, which are varied RGB values above zero, which equal emission on, making the righthand side colour palette the emissive colour palette.
For a detailed explanation of how to use the emissive colour palette texture set then follow the whole of my Blender - Colour Palette Series
Create a new document and name the file Base Colour palette.
Change the Width to 64px and the Height to 32px, this is to accommodate two standard colour palettes in one texture.
All other settings are below:
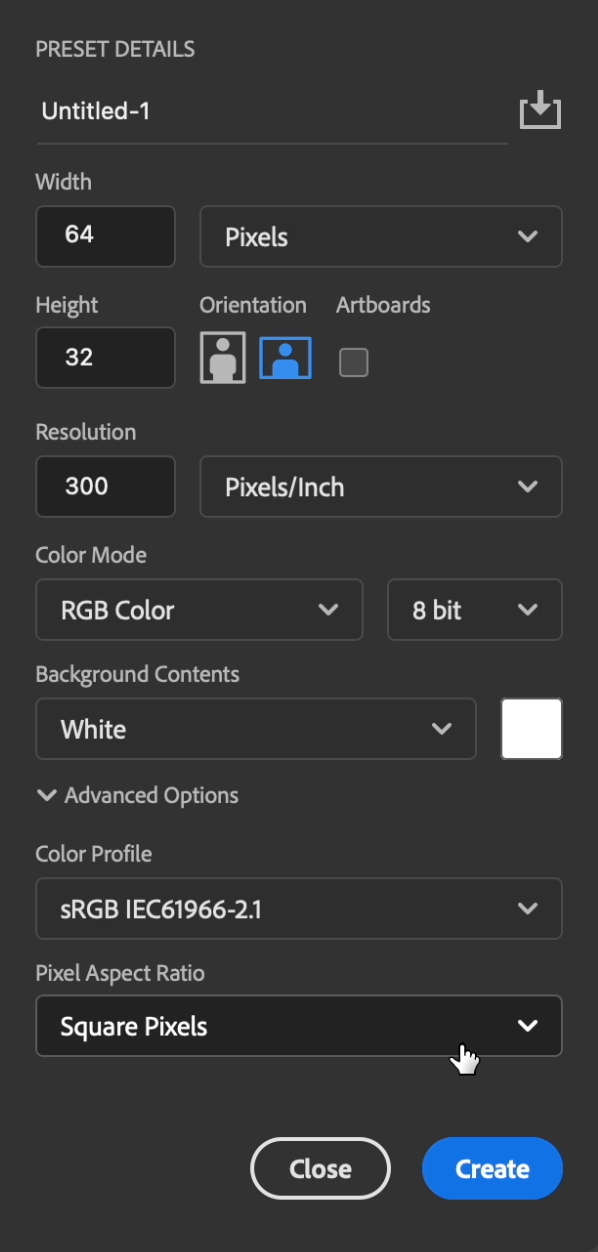
Click create.
Open the standard colour palette texture that you created in the previous tutorial.
Select the rectangle selection tool.
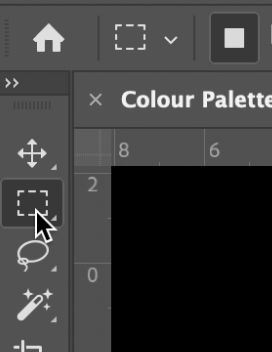
Only draw the selection rectangle around the active colours of your colour palette and make sure that you have selected the layer with your colour palette on or you'll copy the blank background.
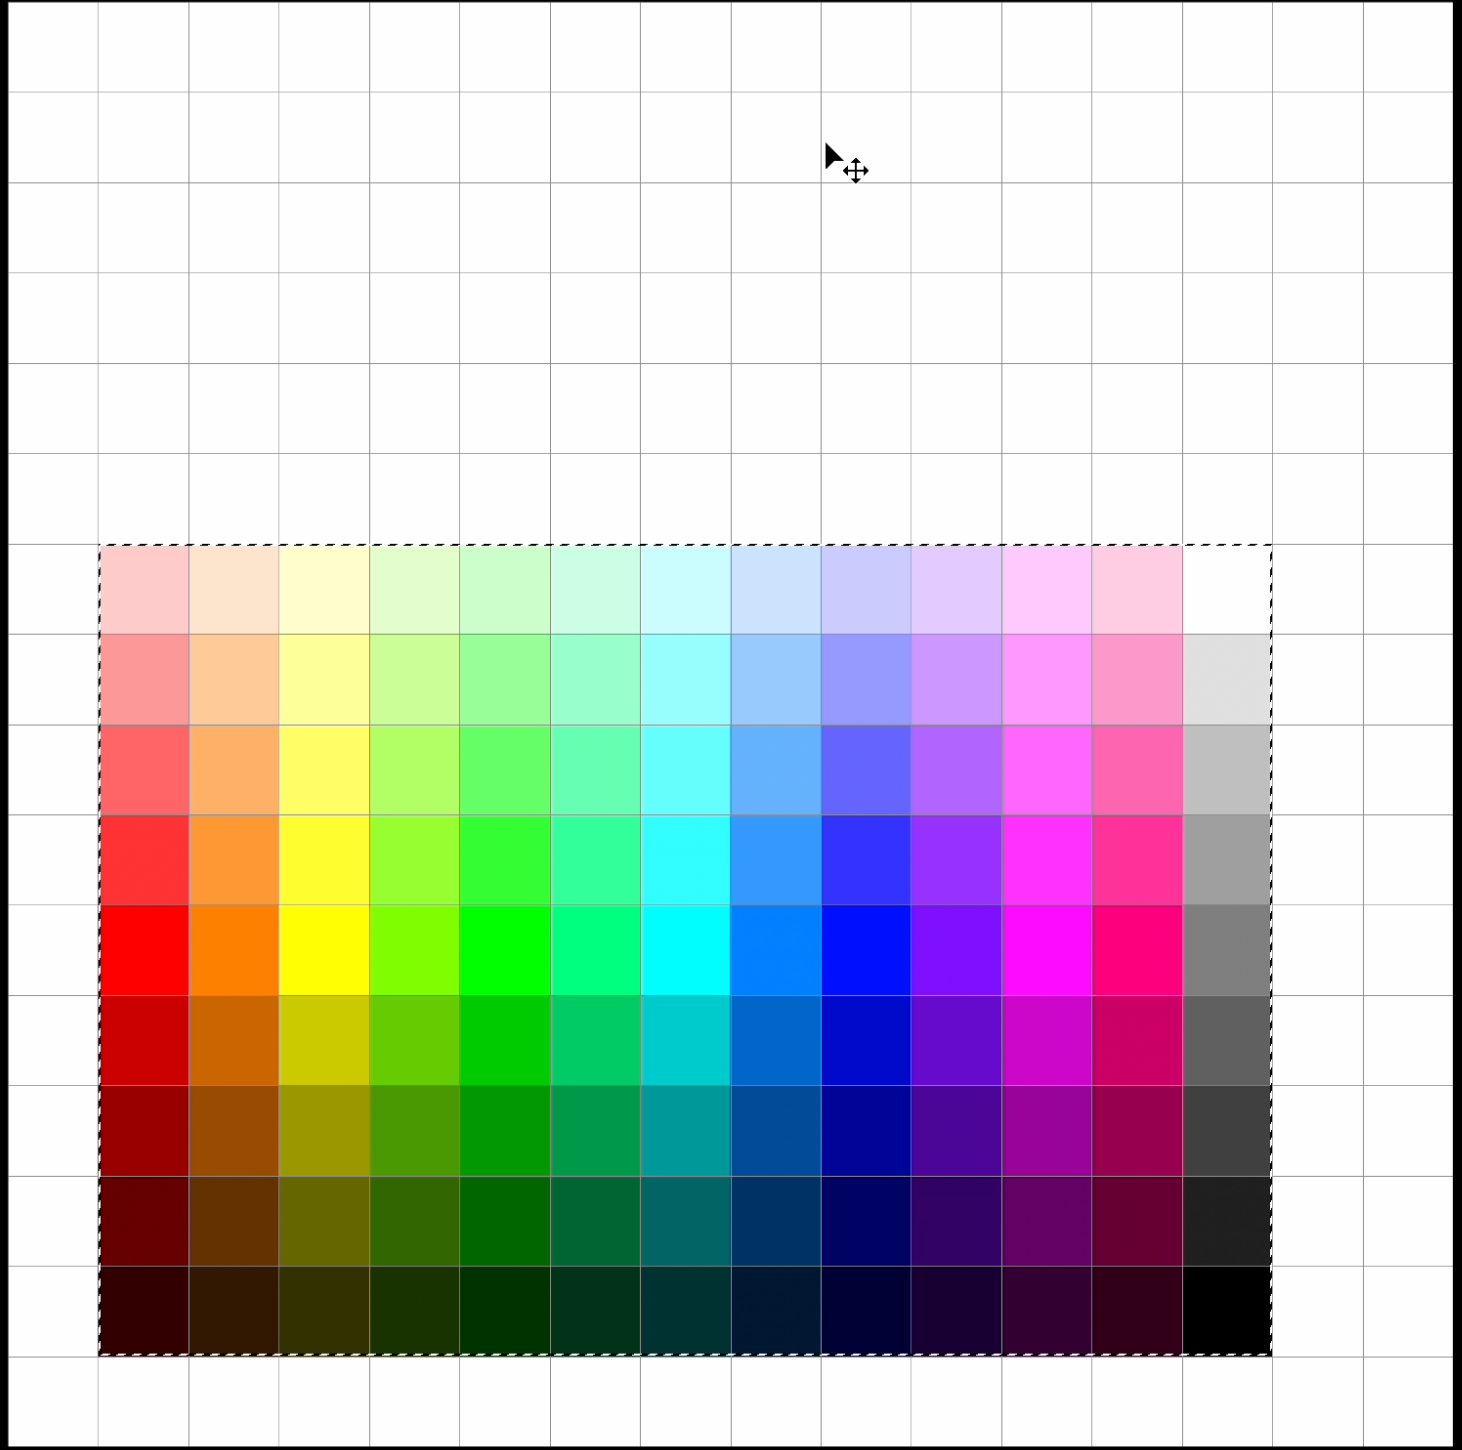
Hit command and c to copy the selection.
Goto to the base colour palette texture.
Hit command and v to paste your selection to the base colour palette texture.
You should already be on the colour palette layer, if not select the layer with your colour palette.
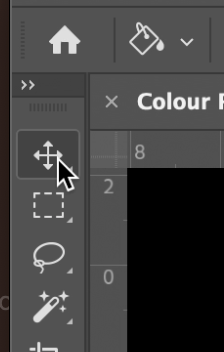
Select the Move Tool.
Now move the colour palette to the right hand side.
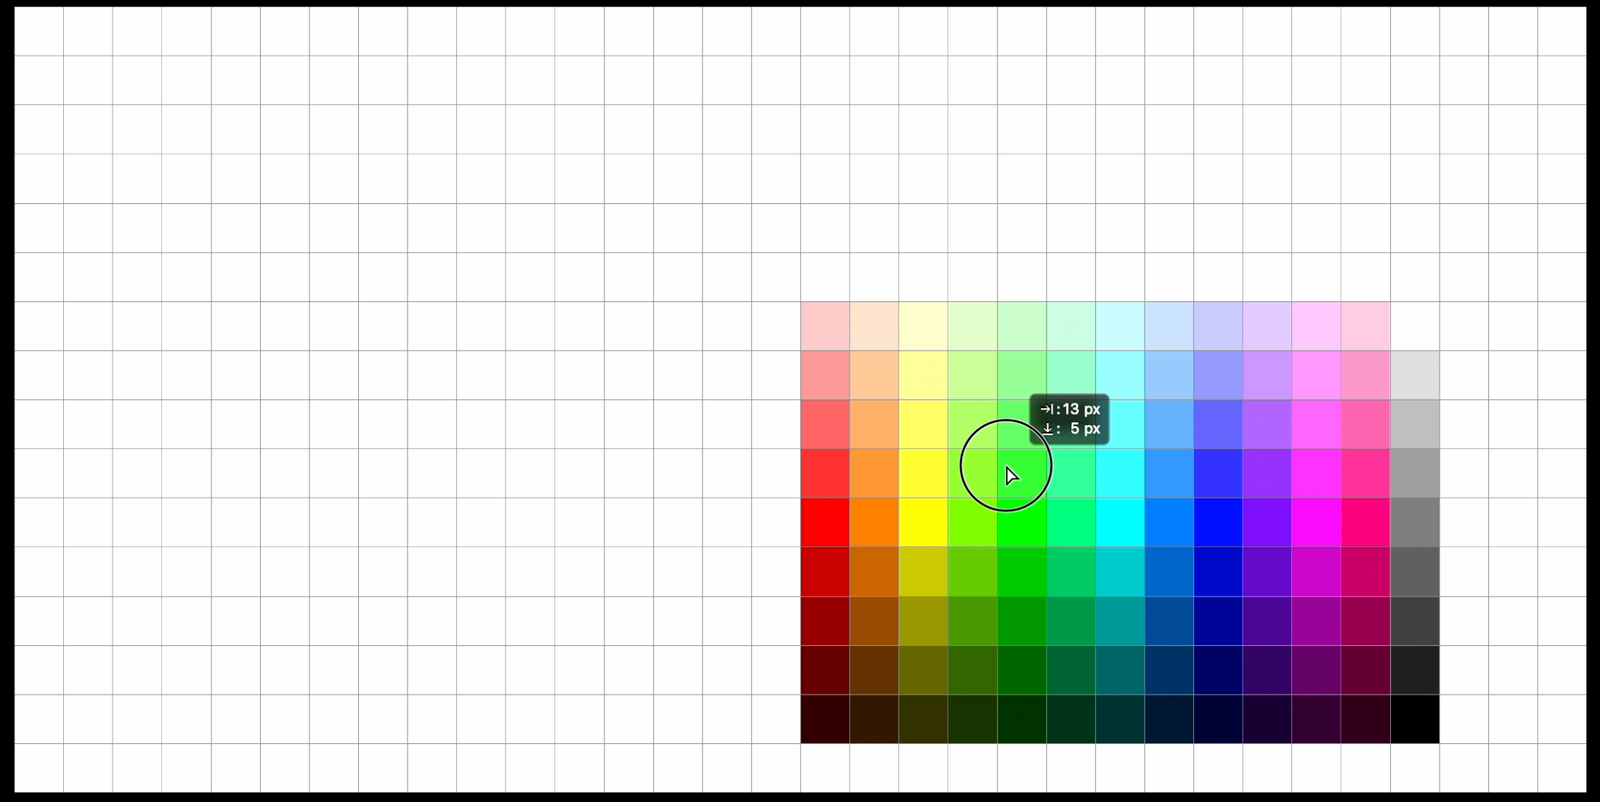
Press command and v to paste another copy of the standard colour palette.
Because you already have the move tool selected move the newly pasted colour palette to your desired position.
You can spend a bit of time arranging the colour palette positions until you are happy.
If you would like to add your own touch to the colour palette then add a colour to the background.
First select the background layer.
Select the fill bucket from the tool menu
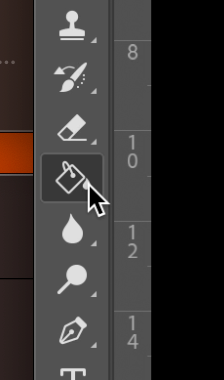
Select a colour and left click anywhere on the background layer to change the colour.
If your base colour palette is not open then select open recent, and the base colour palette you have been working on.
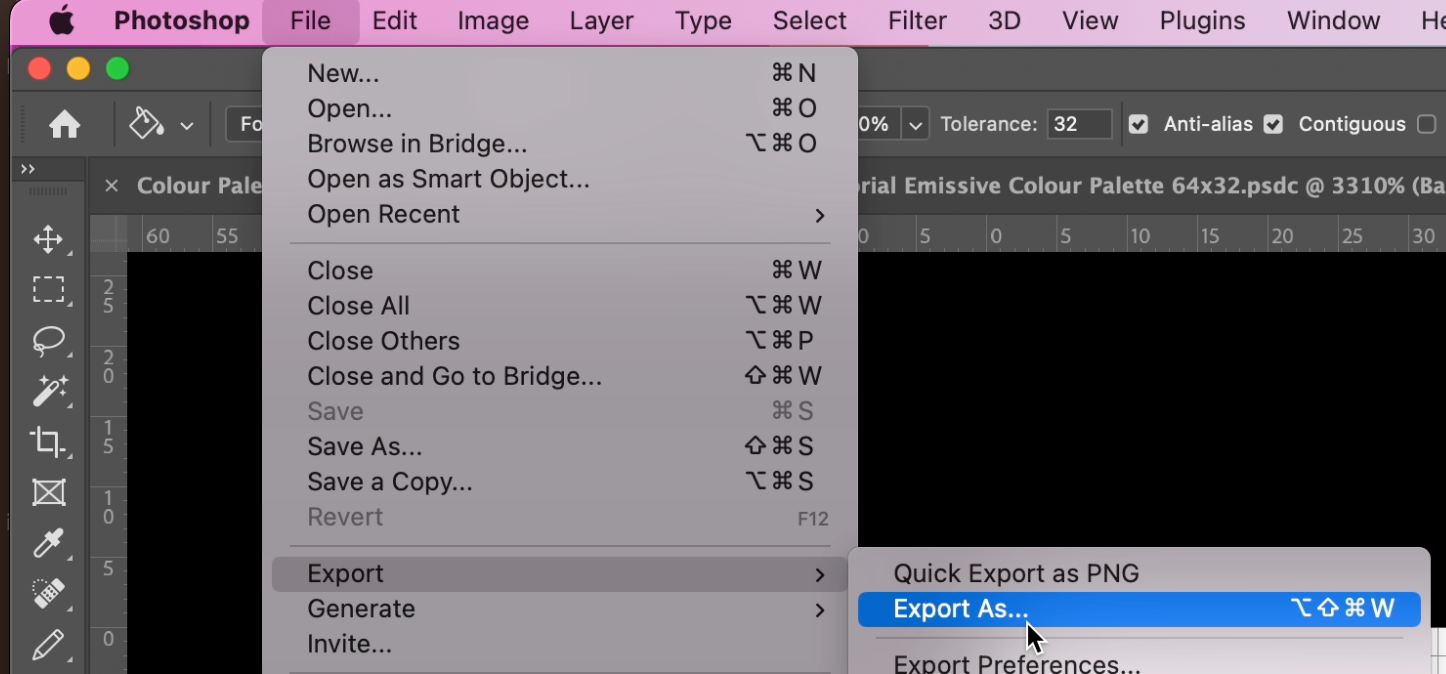
Now select export as from the main menu.
Make sure PNG is selected and the transparency check mark is off.
Set the export setting to the below image:

Click export.
You can rename the file if you want, then click save.
Now it's time to make the emissive colour palette texture.
This part of the process is simple.
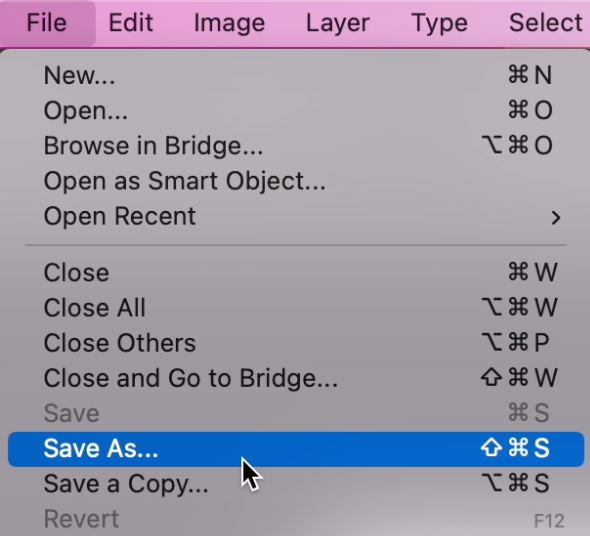
Start by selecting save as.
Rename the base colour palette texture to emissive.

This step is to make another copy of the base colour palette which we will convert into the emissive colour palette texture.
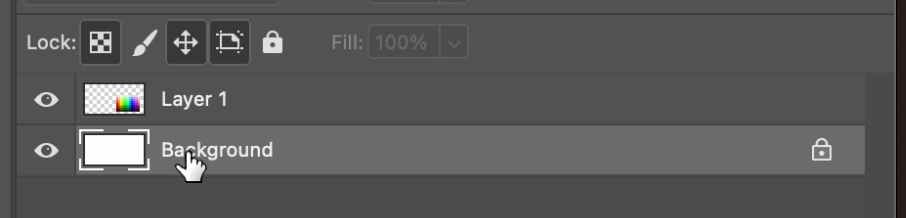
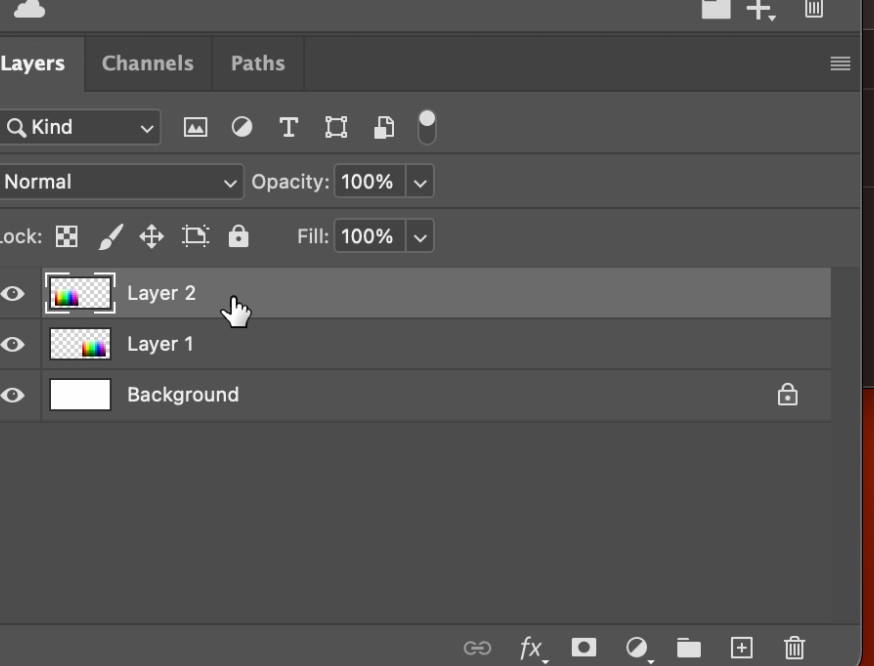
Select the layer which contains the left colour palette and then delete the layer.
Now select the background layer.
Set the colour to black which has an RGB value of 0,0,0.
Select the fill bucket.
Fill the background layer.
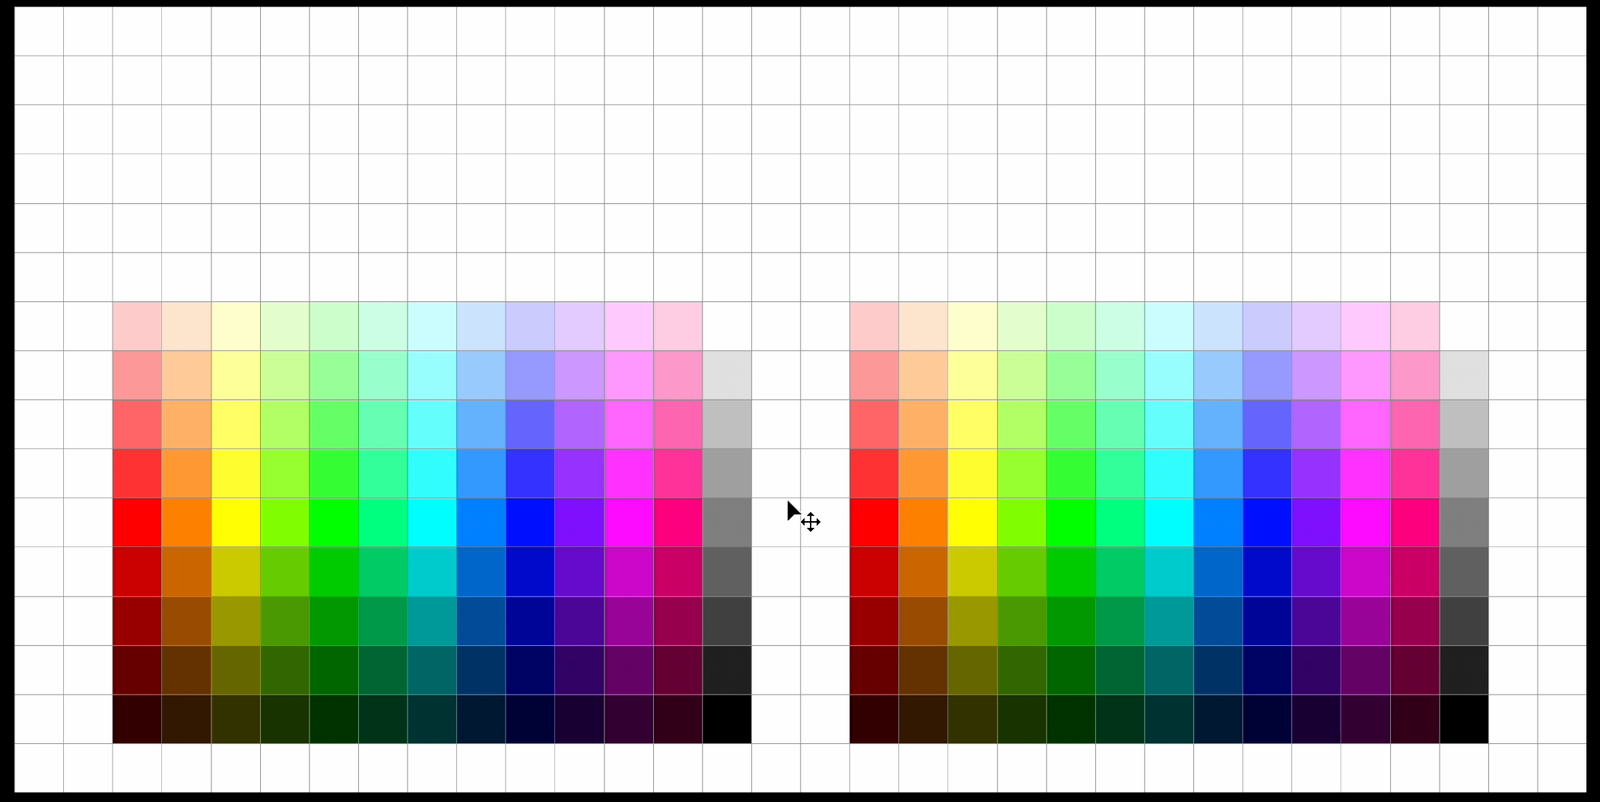
If all has gone well your emissive colour palette texture should look like the above image.
If your emissive colour palette is not open then select open recent, and the emissive colour palette you have been working on.
Now select export as from the main menu.
Make sure PNG is selected and the transparency check mark is off.
Set the export setting to the below image:
Click export.
You can rename the file if you want, then click save.
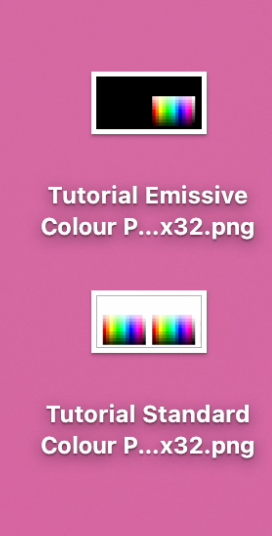
If you have completed all of the steps correctly you should end up with two PNG files, one base colour palette texture and one emissive colour palette texture, save these files because you will be using them later in the series.
Congratulations it’s time to move onto how to create a material in blender.
If you click on my affiliates/advertisers links on this page, I am going to receive a tiny commission. AND… Most of the time, you will receive an offer. Win/Win! The products that I advertise are the ones that I use.
BlenderKit The best place to get models, materials, HDRS, scenes and brushes that I have found and now use.
ElevenLabs The best AI to create text to speech, custom voices from text, sound effects from text and the main reason I purchased this subscription, changing my voice to a voice I created, allowing me to become any character.
QuickMagic The best single camera motion capture software that i use.